

Recording Tips: Acoustic Guitar
There is little point trying to argue over what a ‘great sound’ is. The truth is, a ‘great sound’ is highly dependent on the style you’re going for, and every engineer and his dog will have his or her own idea of the best practices required.
That being said, there are a few bases you’ll need to have covered so you can get the exact sound you’re after.
In this article, we cover tried and tested ways of preparing for recording, calibrating your room, as well as a few effective miking techniques to get the job done efficiently.

How to prepare for your session
Before you even think about reaching for the microphones, get your acoustic guitar sounding great from the start. If it doesn’t sound good, troubleshoot ways to fix that. Consider the following:
Do you need to restring due to rust build-up?
Does the song require nylon instead of steel strings (or vice versa)?
Is the action of the guitar emitting too much buzzing noise?
In the worst-case scenario, you might need a different guitar altogether.
Top Tip! Lighter gauge strings produce a thinner sound while thicker gauged strings produce thicker strums. Be wary that thicker gauged strings, while they sound denser they can sound overly tubby and lack in overtones.
Don’t overlook any of this, because as the adage goes: “you can’t polish a turd”. Let’s look at calibrating your room.

Calibrating your room
Acoustic guitars contain a lot of midrange frequencies, and like vocals – will benefit immensely from a decent sounding room. Try not to rely on adding digital reverb to the mix later on, as you can rarely beat the sound of a natural, acoustic live room.
Don’t have a good sounding room? You can try to position the guitarist near walls, glass doors, or any similarly reflective panels and furniture that might help to liven up the sound. Additionally you can remove any rugs, curtains or carpets that could be dampening the room.
Experiment and listen carefully until you get the room sounding the way you want. In the worst-case scenario, you could either rent a studio or bug a friend who has a decent lounge and record there.

Microphone positions
There are a wide range of microphone techniques that you could use to get a great guitar sounds. Here are 3 commonly used positions that aren’t a whole load of trouble to set up.
- Large diaphragm close condenser mic –Have the condenser mic facing the area between the sound hole and the top part of the fretboard. Use a microphone with a cardiod pattern and set it up so that it only picks up signals from in front of the mic.
- Spaced pair – Use two small condenser microphones and space them about 2.5ft away from each other. One should be pointed towards the sound hole, with the other facing the direction of the 7th or 8th fret. If you encounter phase issues, simply move the mics around until it disappears. If done right, you should have a super-wide sound from this technique.
- XY – Having a hard time with phase issues? Try this one. Place two microphones at 90 degree angles from each other with the capsules close together. Next, position the setup so that the angle is pointed towards the sound hole of the guitar. This position is fantastic as it provides a wide stereo image without the phase issues.
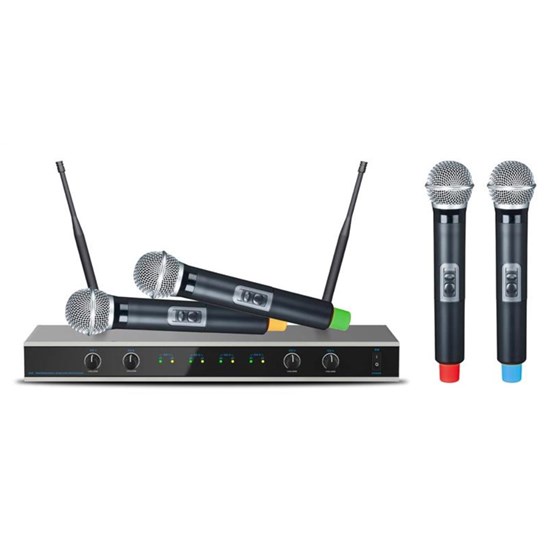
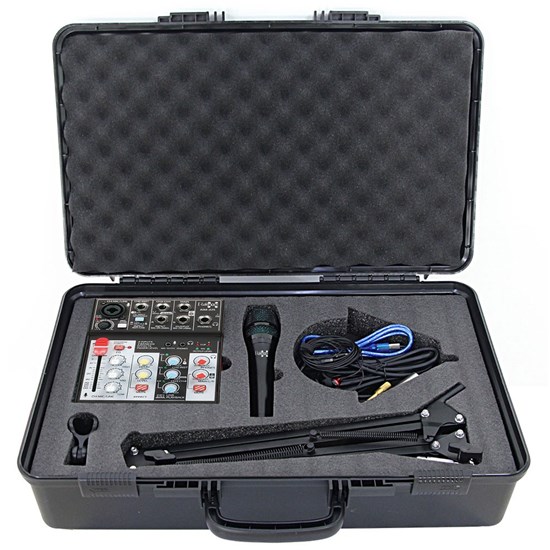
Related Products
-
 $869.00
 -
 $999.00
 -
 $299.00
 -
 $129.00
 -
 $299.00
 -
 $159.00